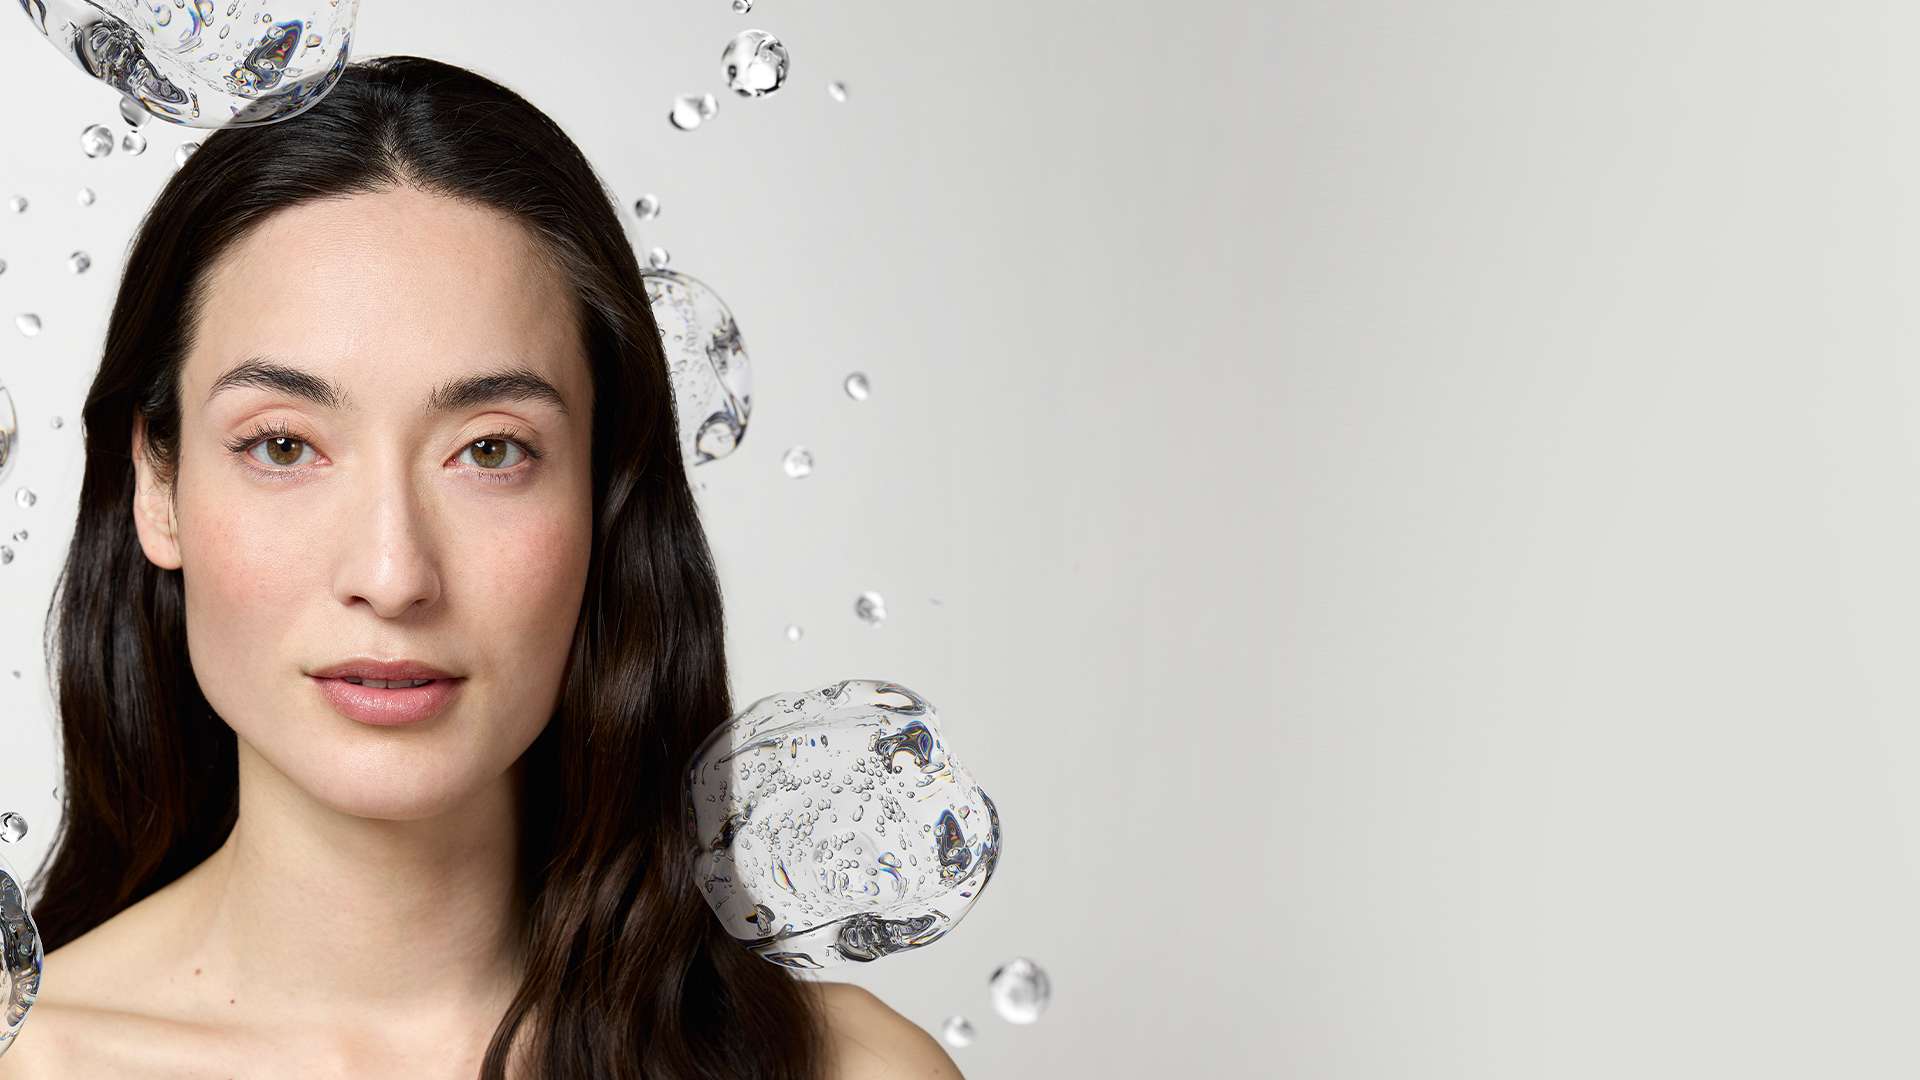
Expressions of intensity, harmonious volumes and shapes.
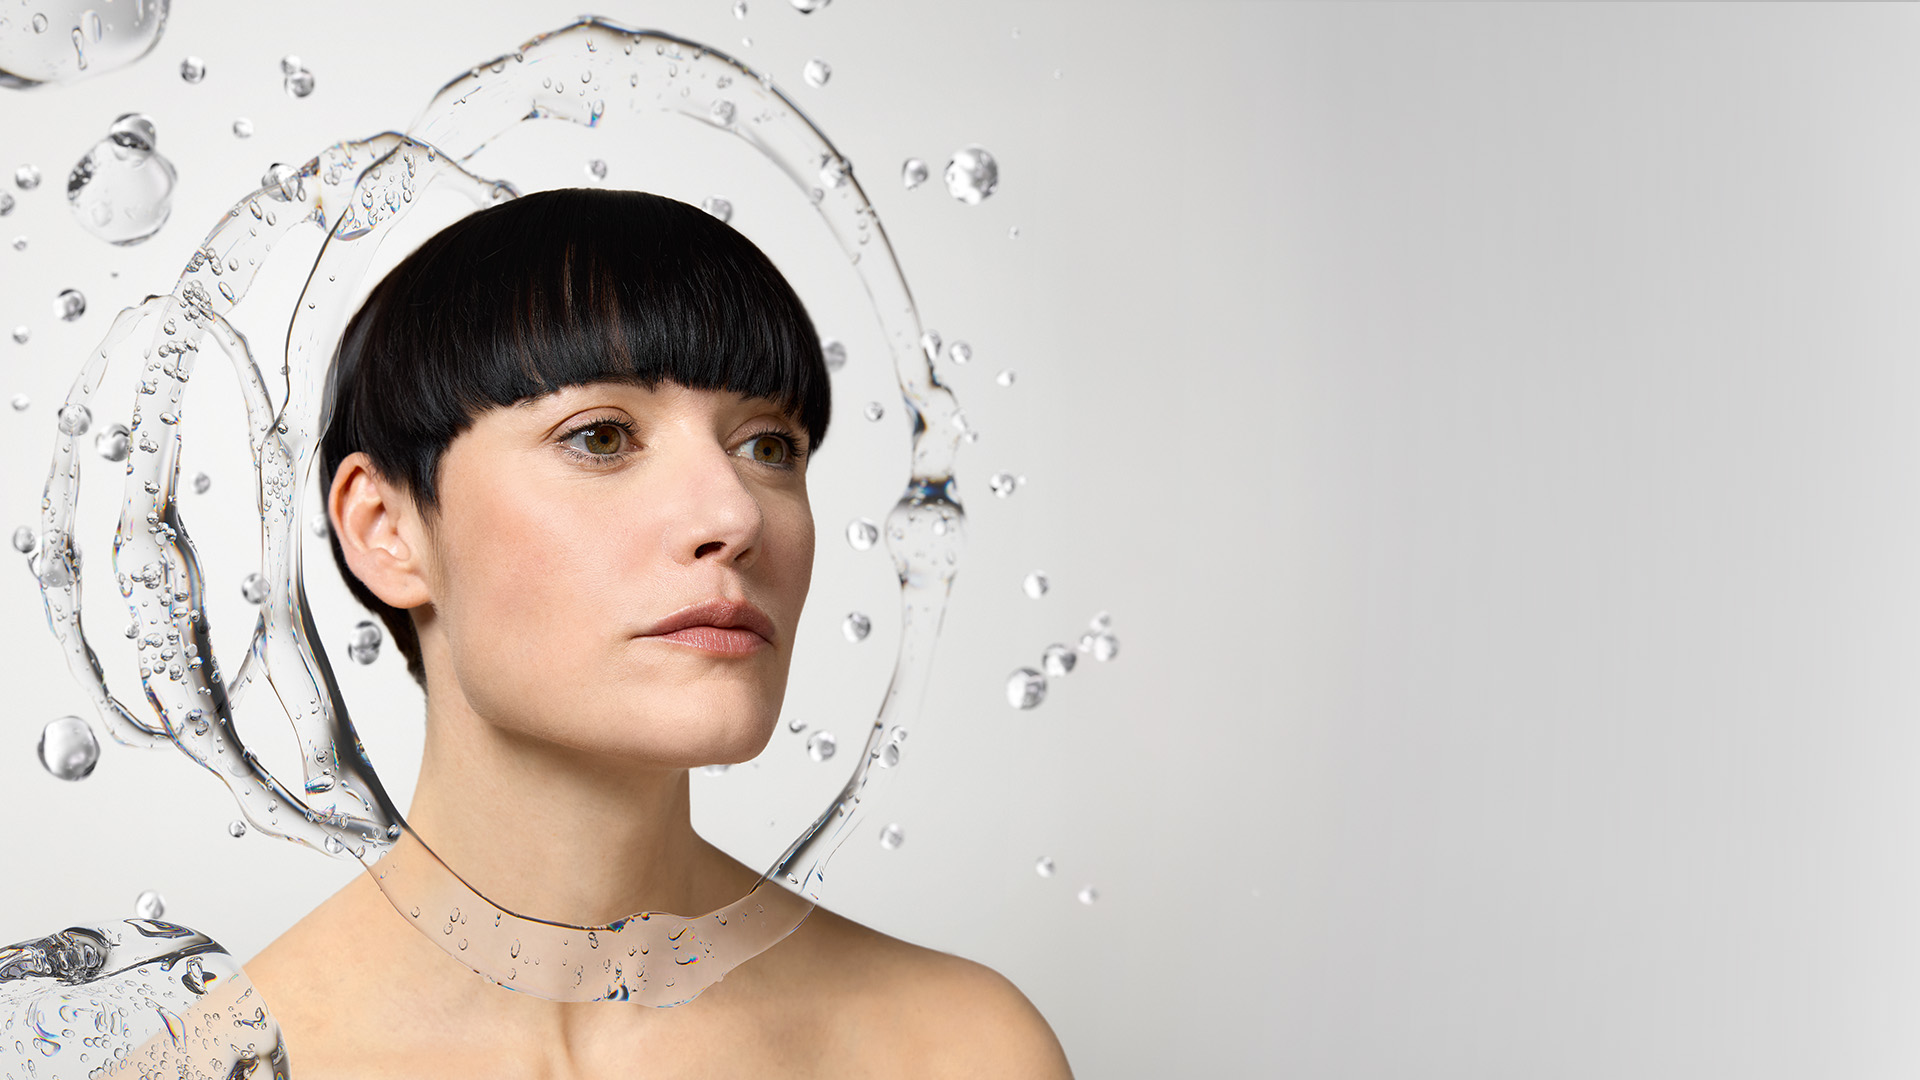
Balanced, harmonious facial contours, for a lasting beauty perspective.
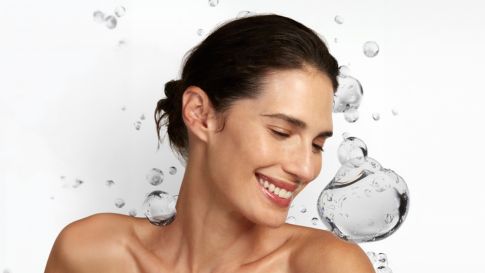
IBSA Derma applies its innovative approach - to enhance the authentic beauty in line with the uniqueness of the individual - to the face and the body.
The physiognomy of the face maintains its balance and authentic proportions.
Find out more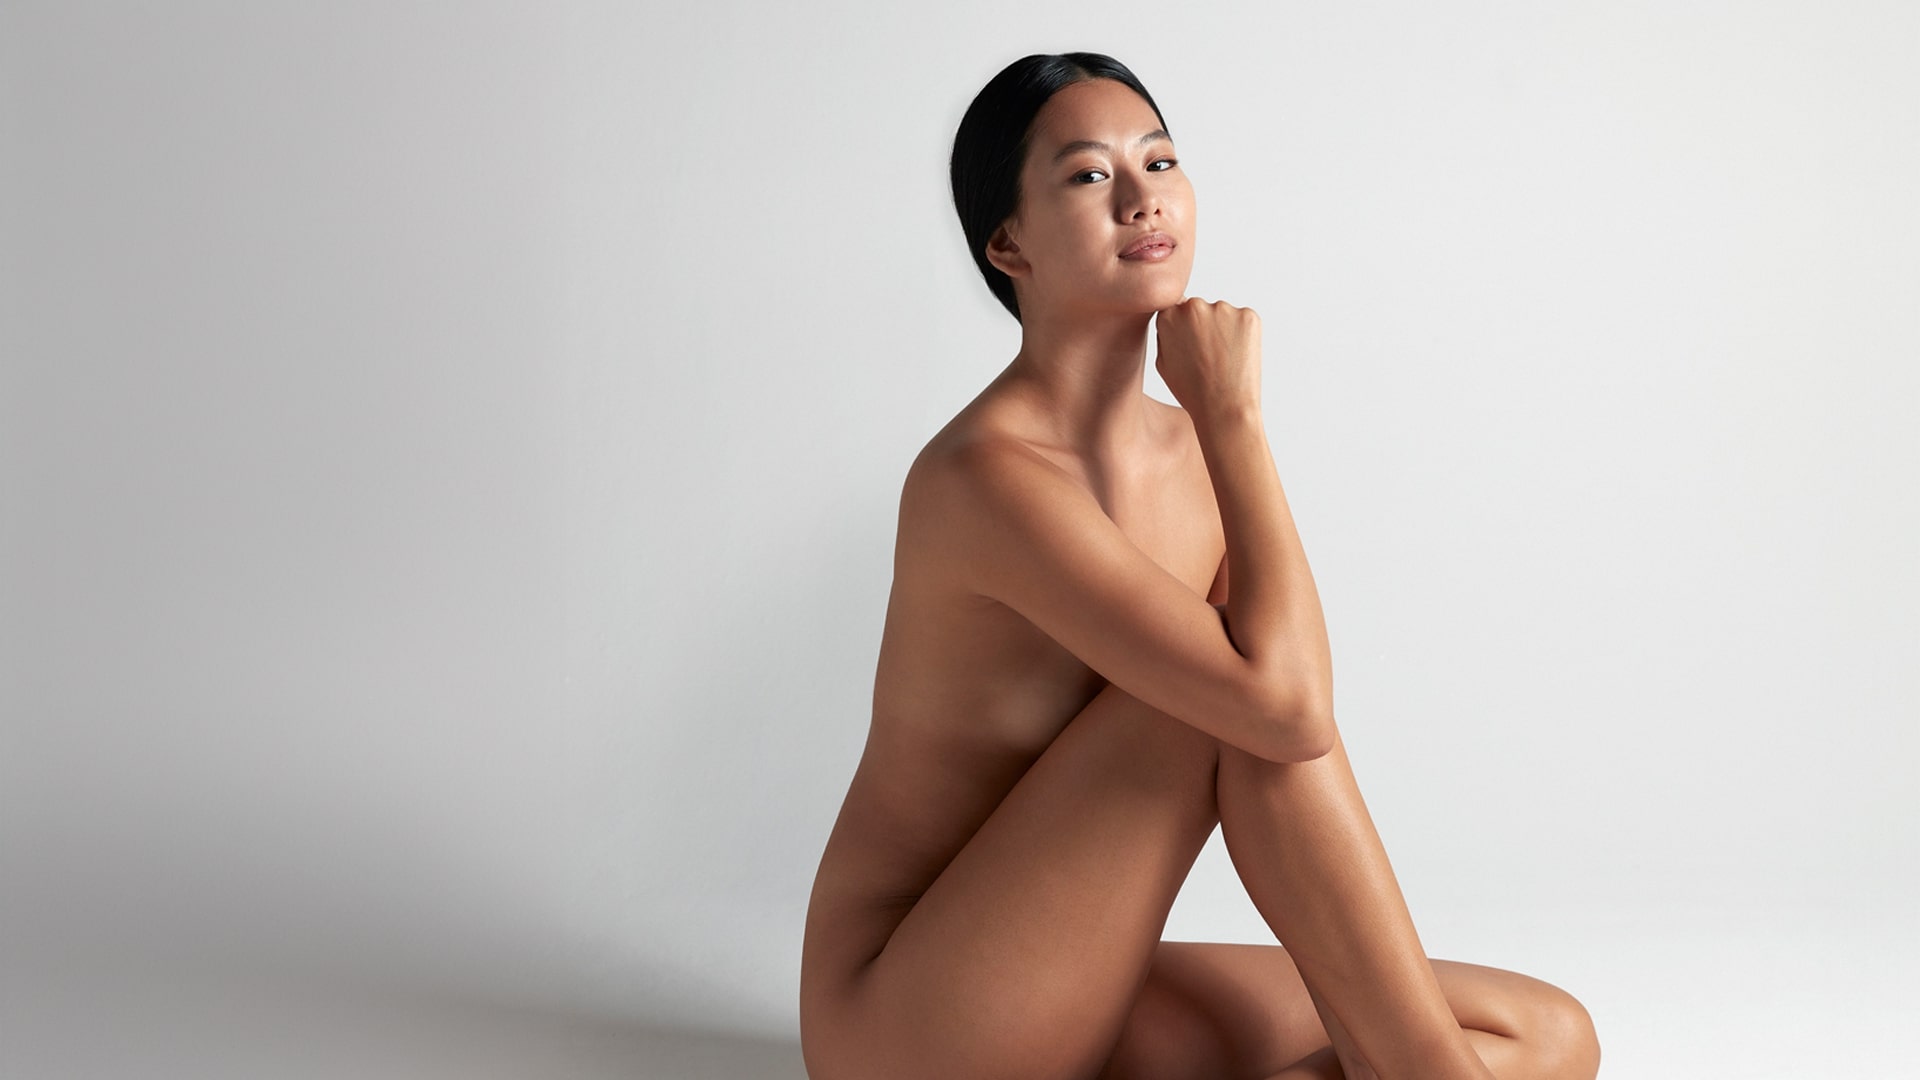
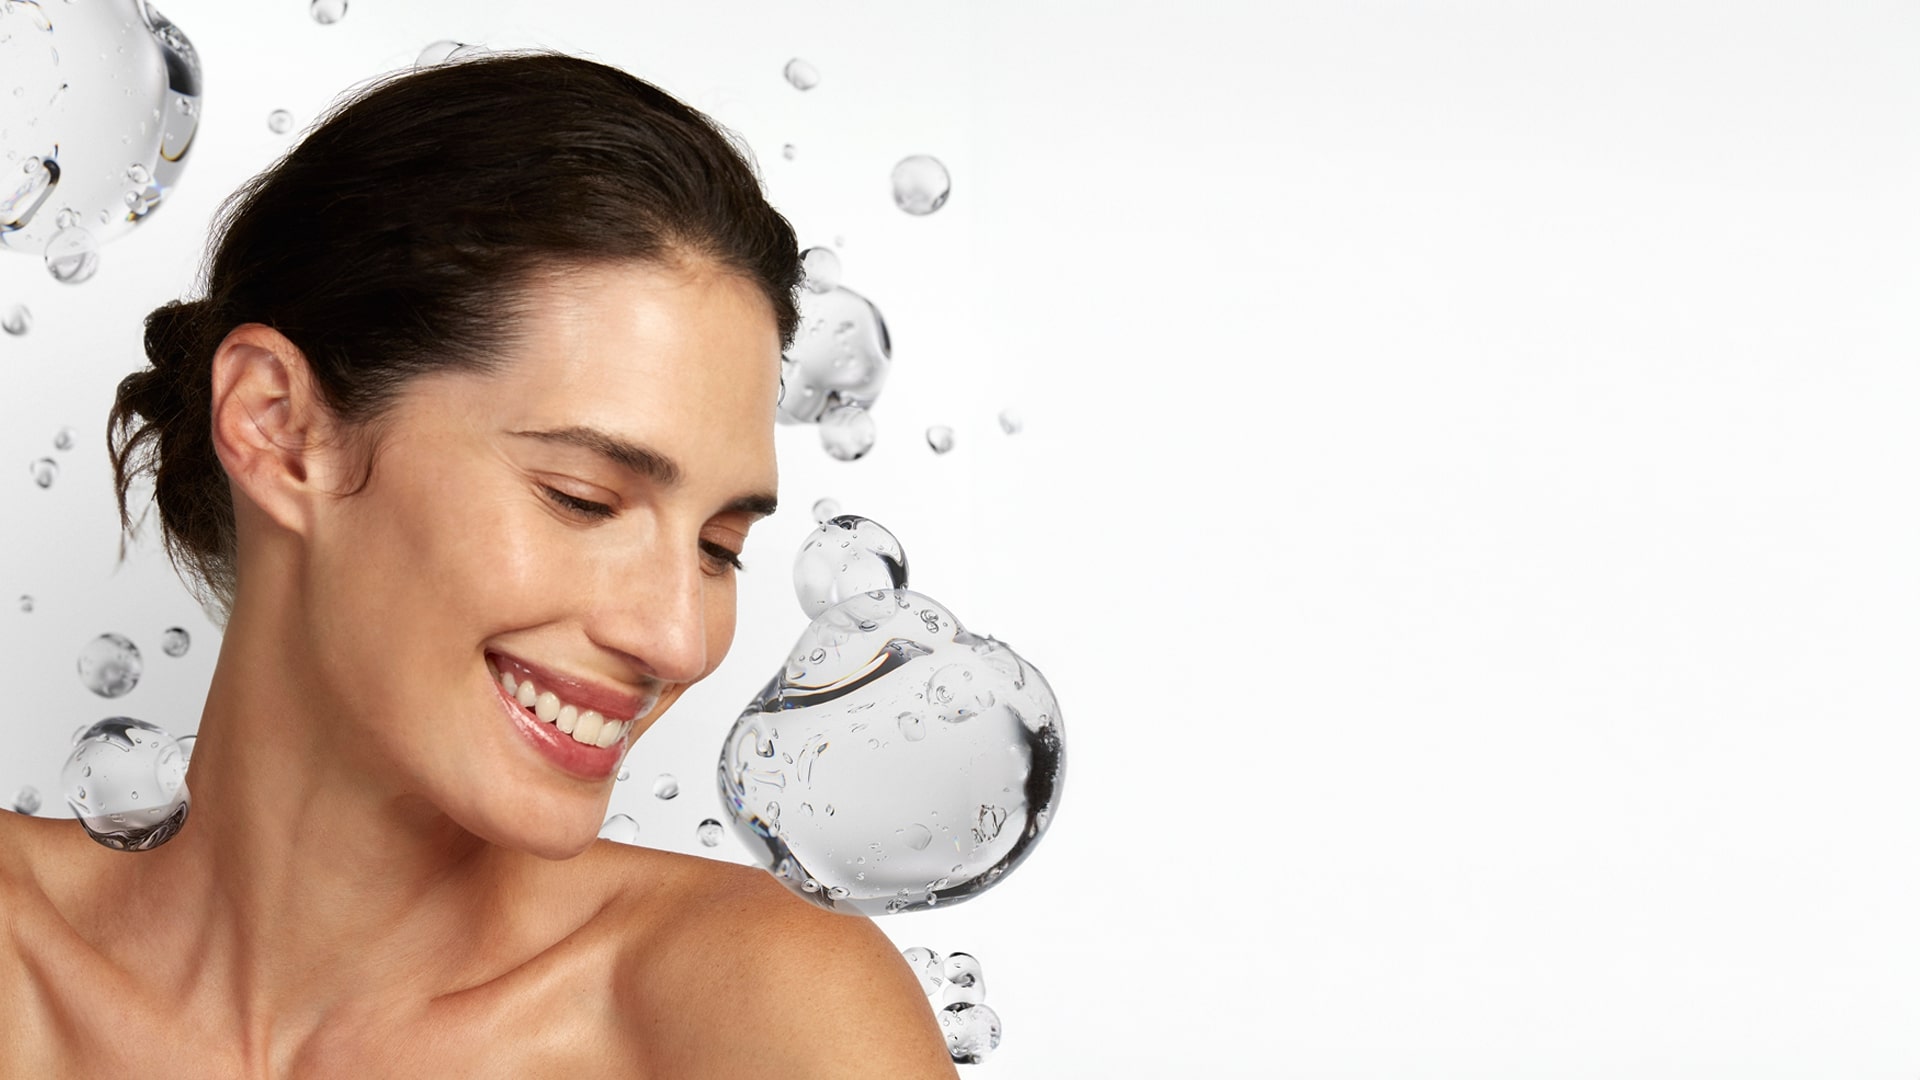
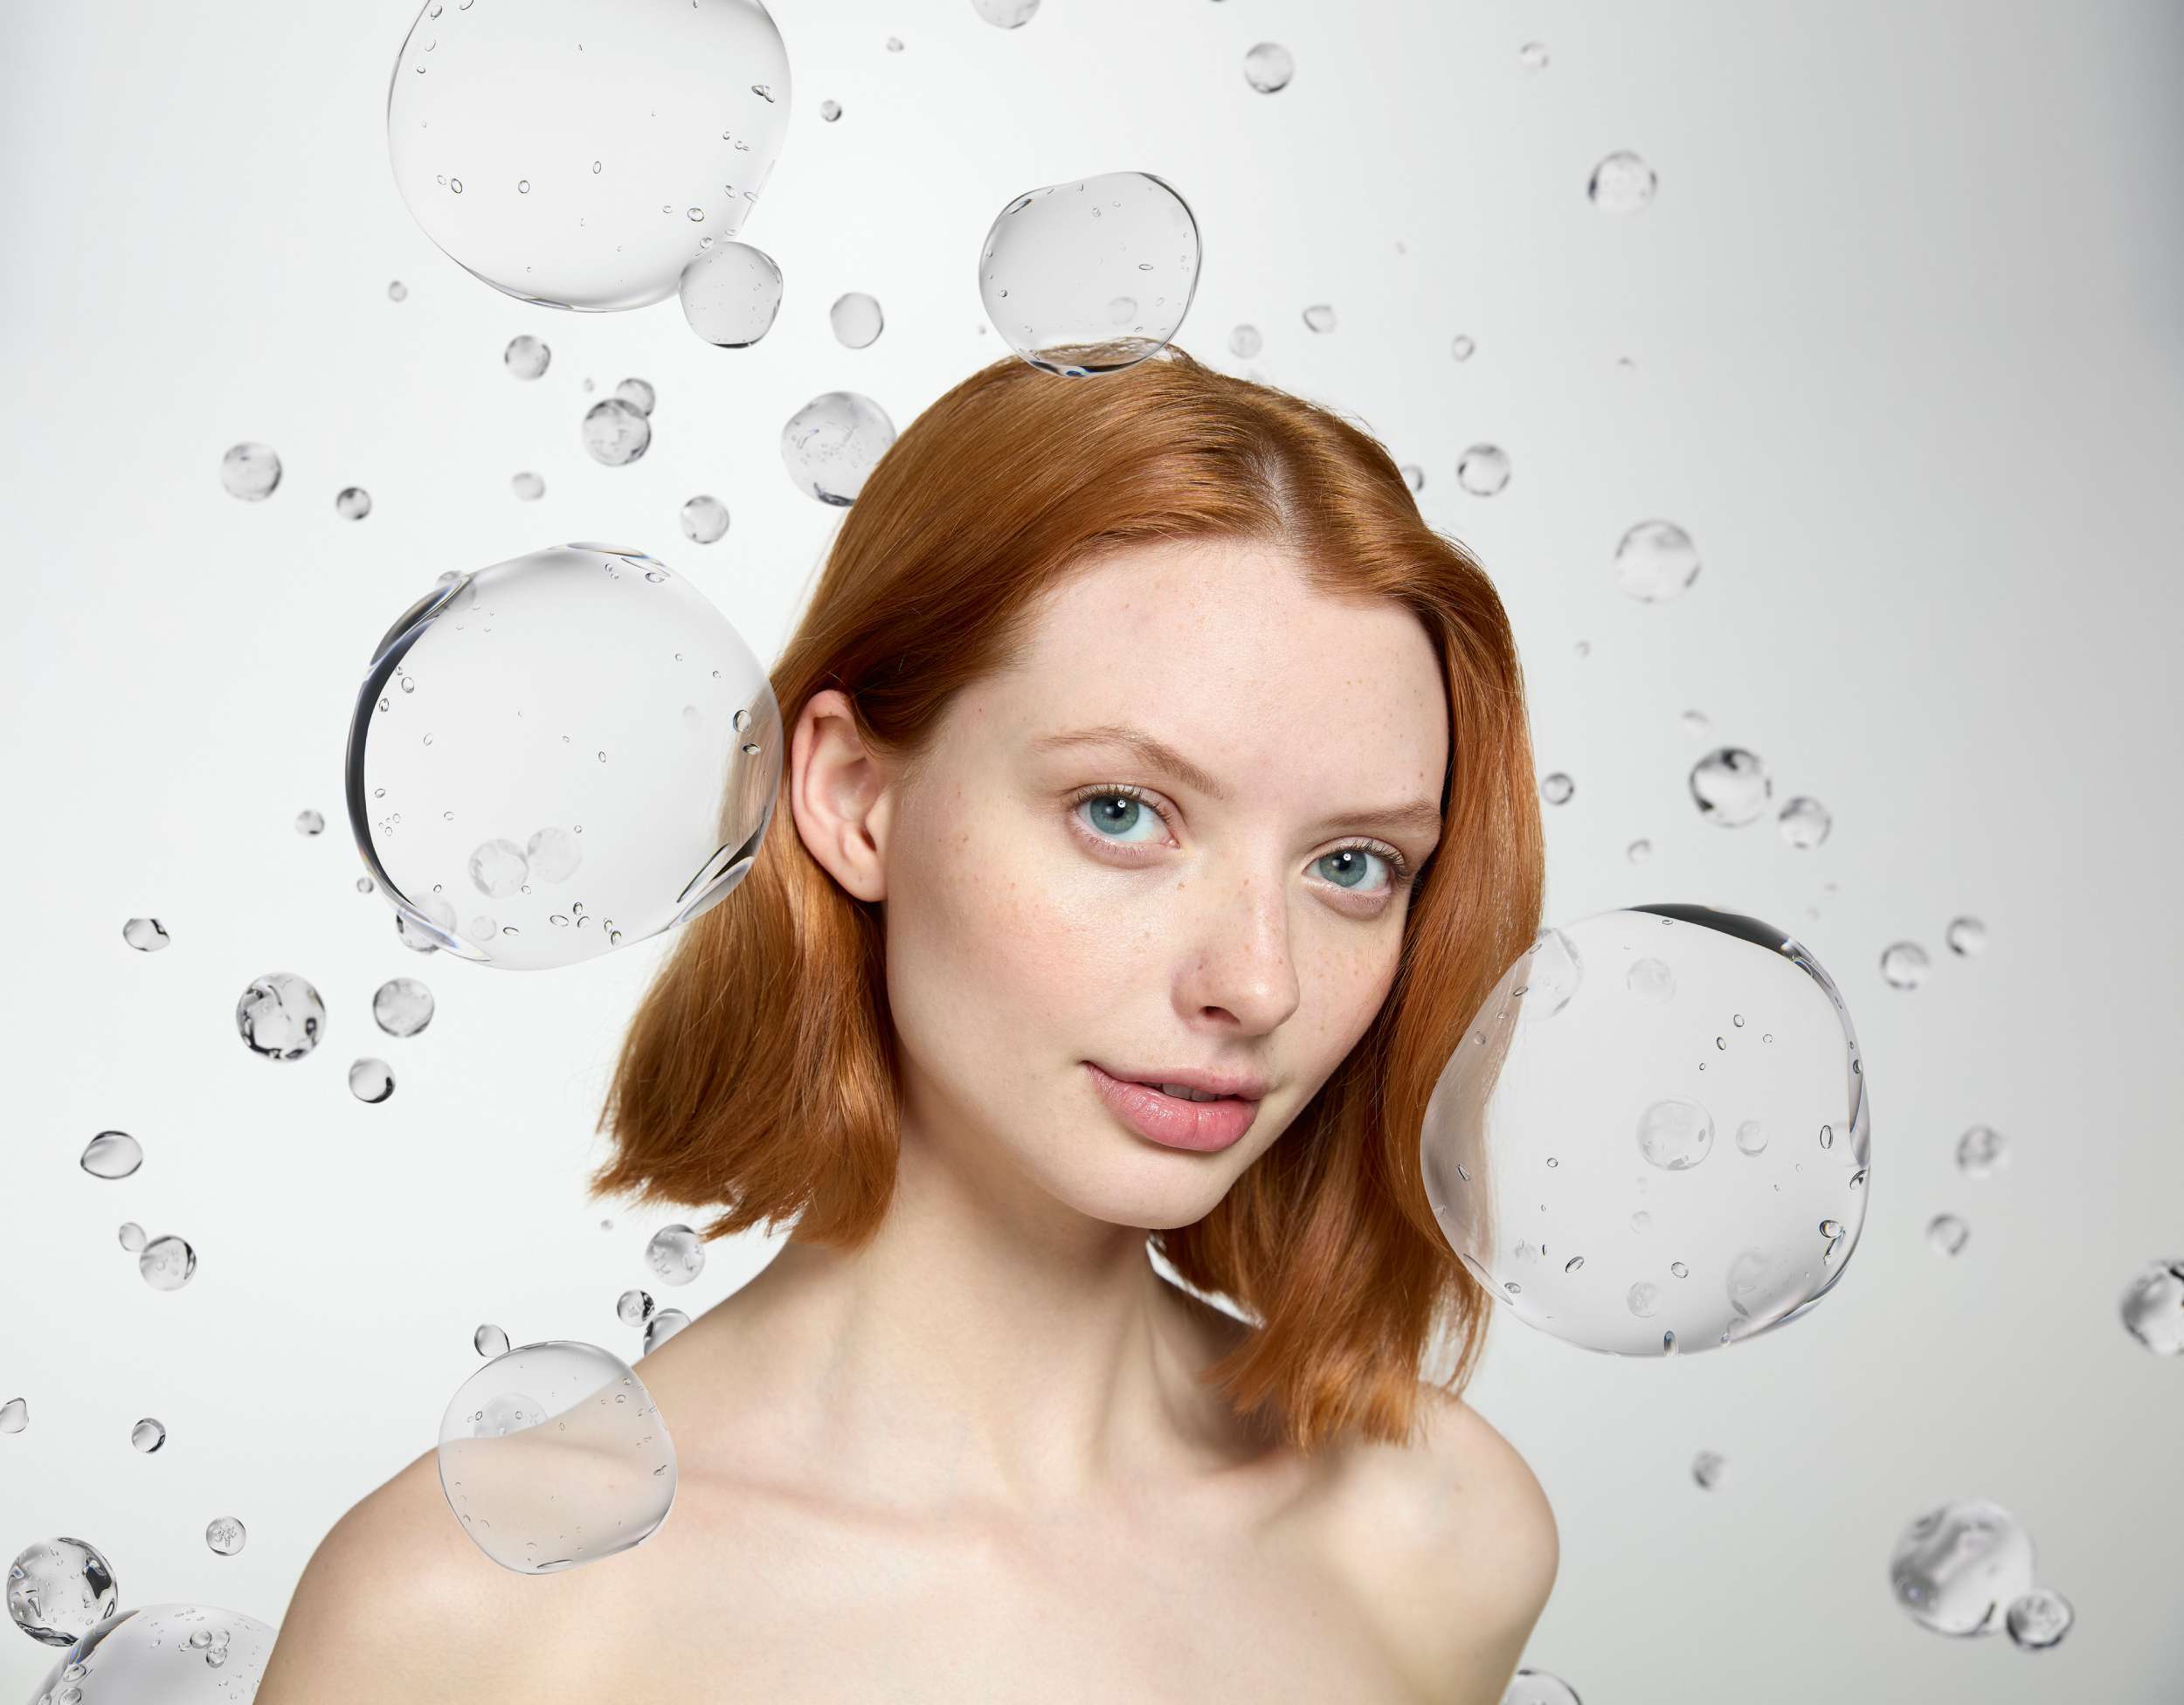
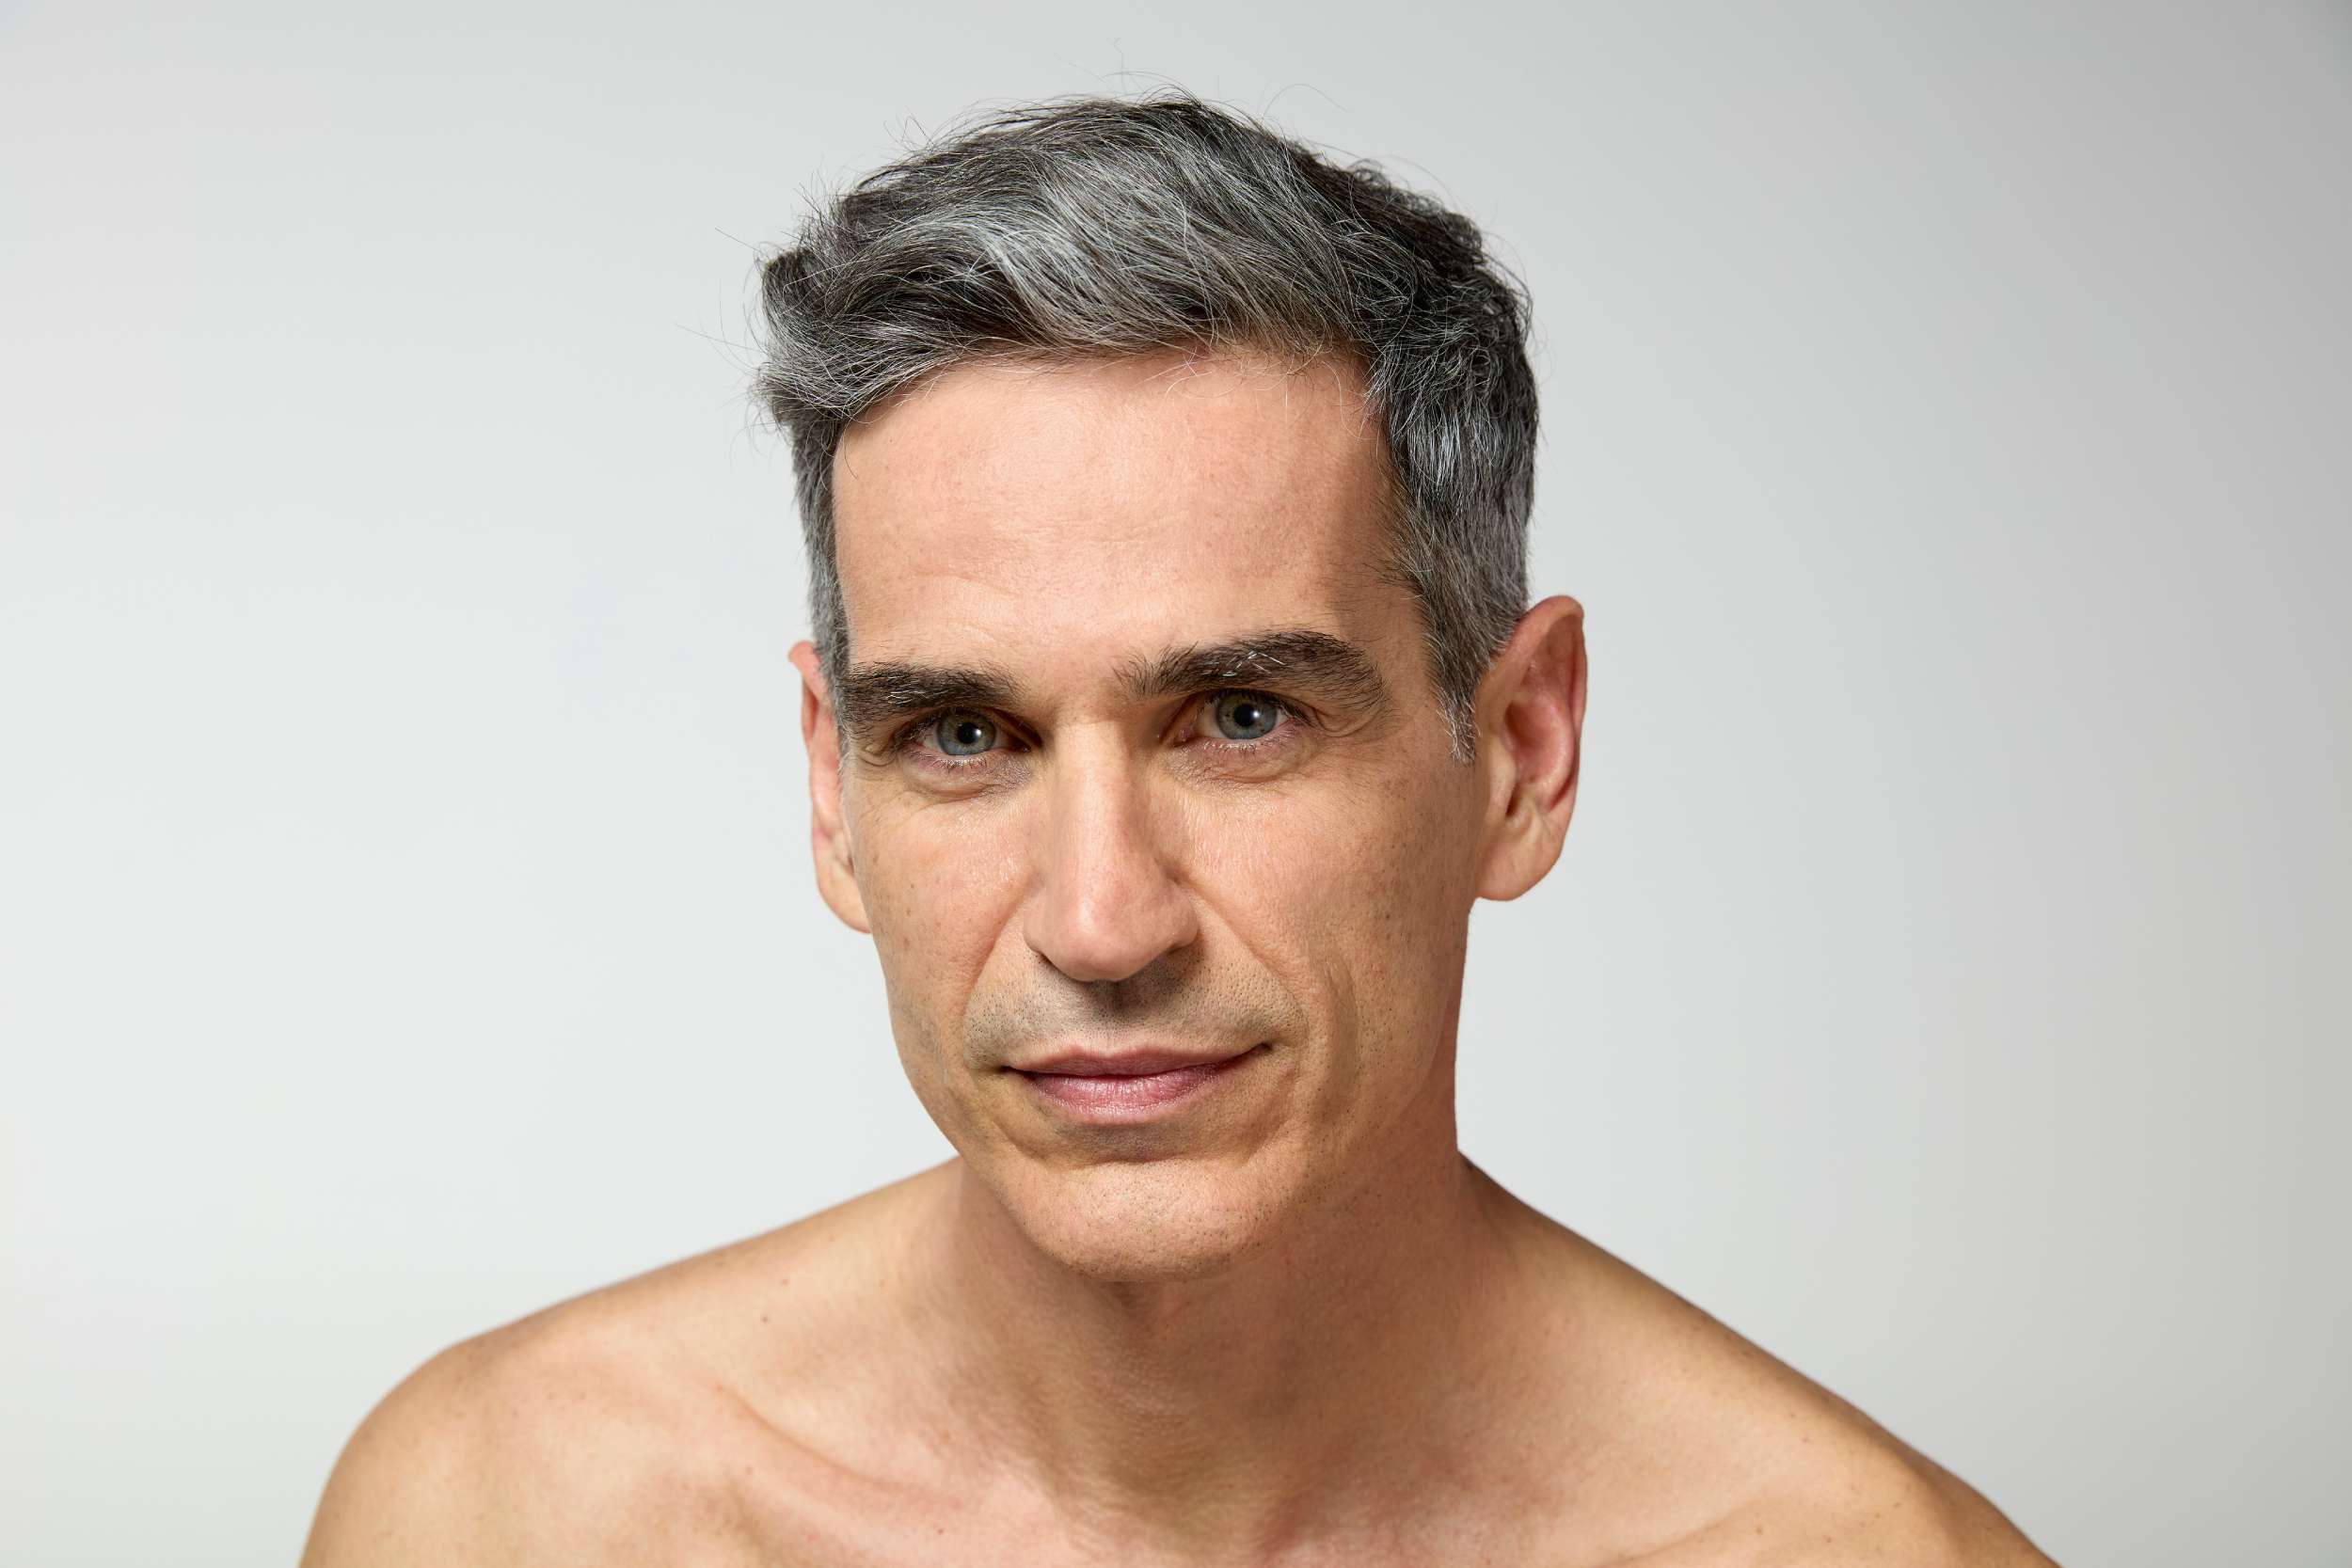
As time passes, the needs of the skin change. IBSA Derma takes proactive steps to ensure its ongoing protection.
Find out more
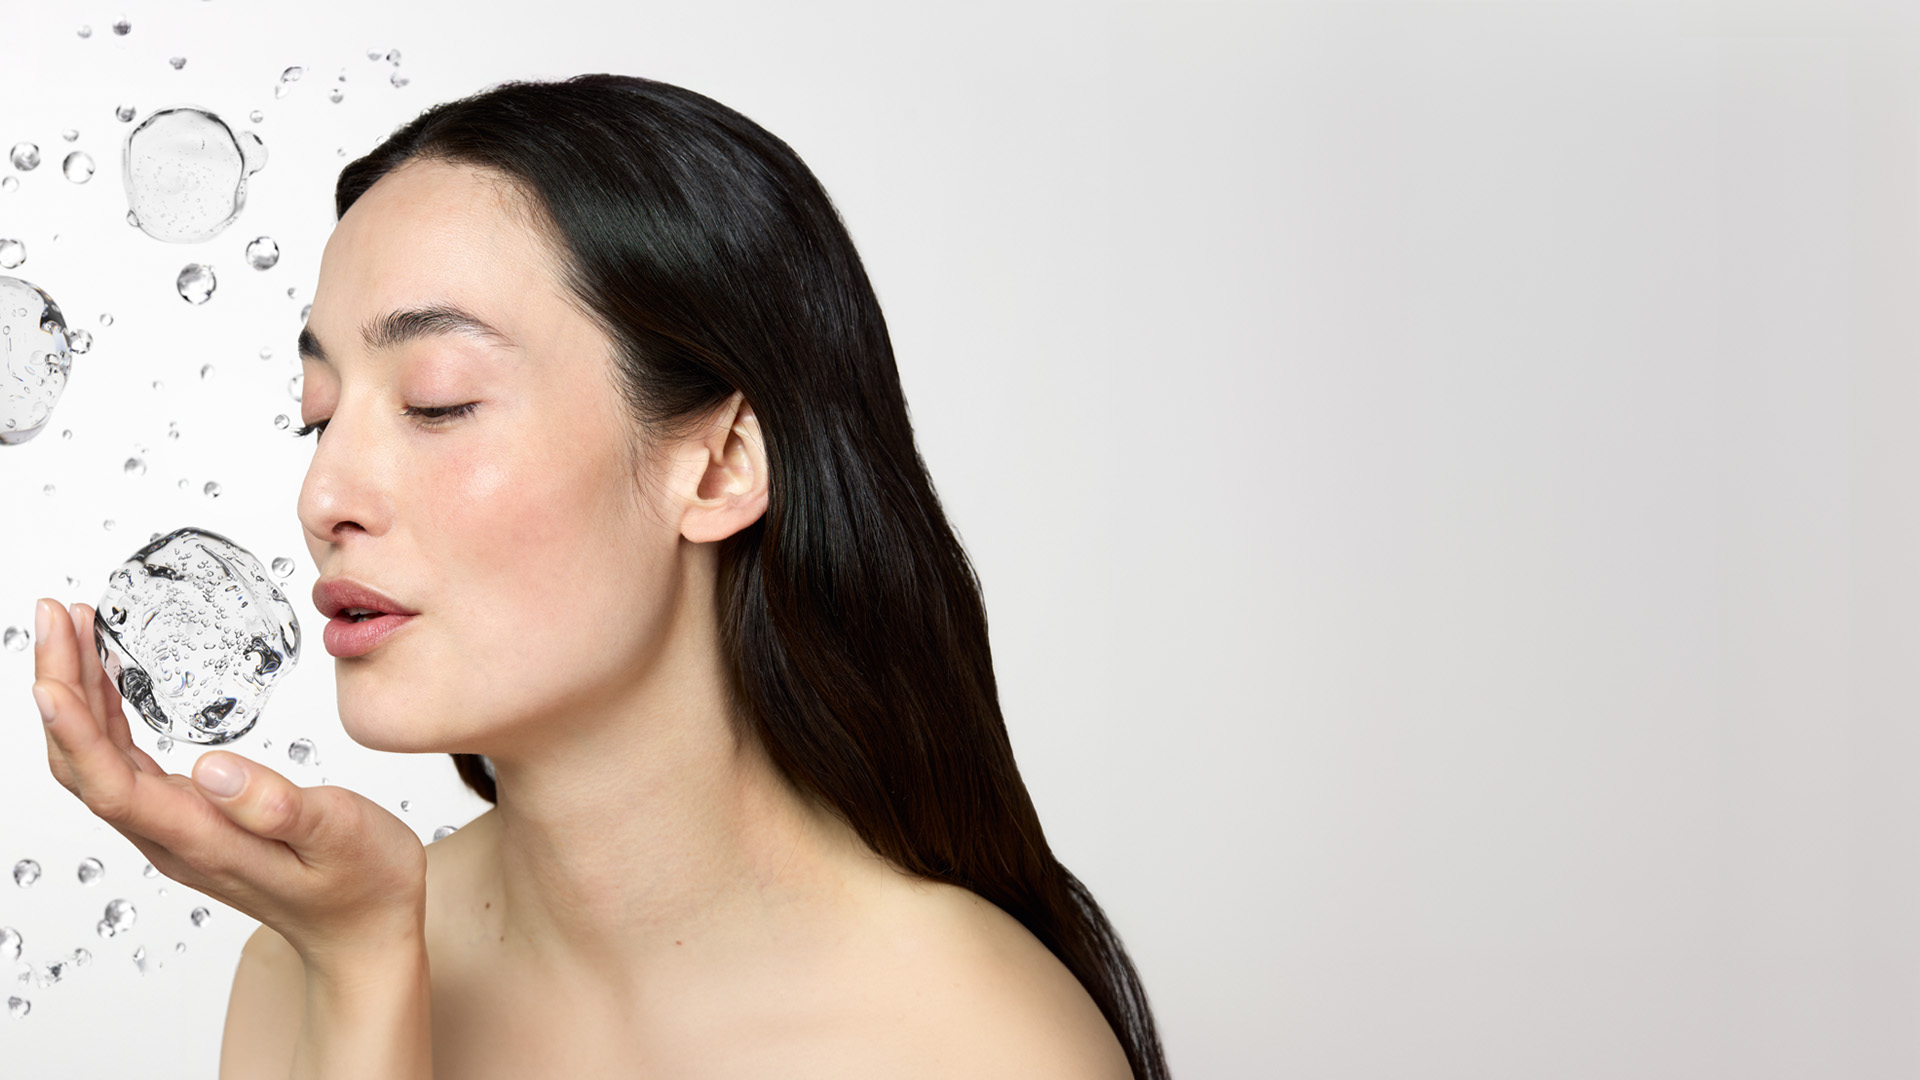
Acceptance of one’s body is a particularly delicate theme, rich in vulnerabilities and inner conflicts often overlooked, as can happen in the case of skin laxity.

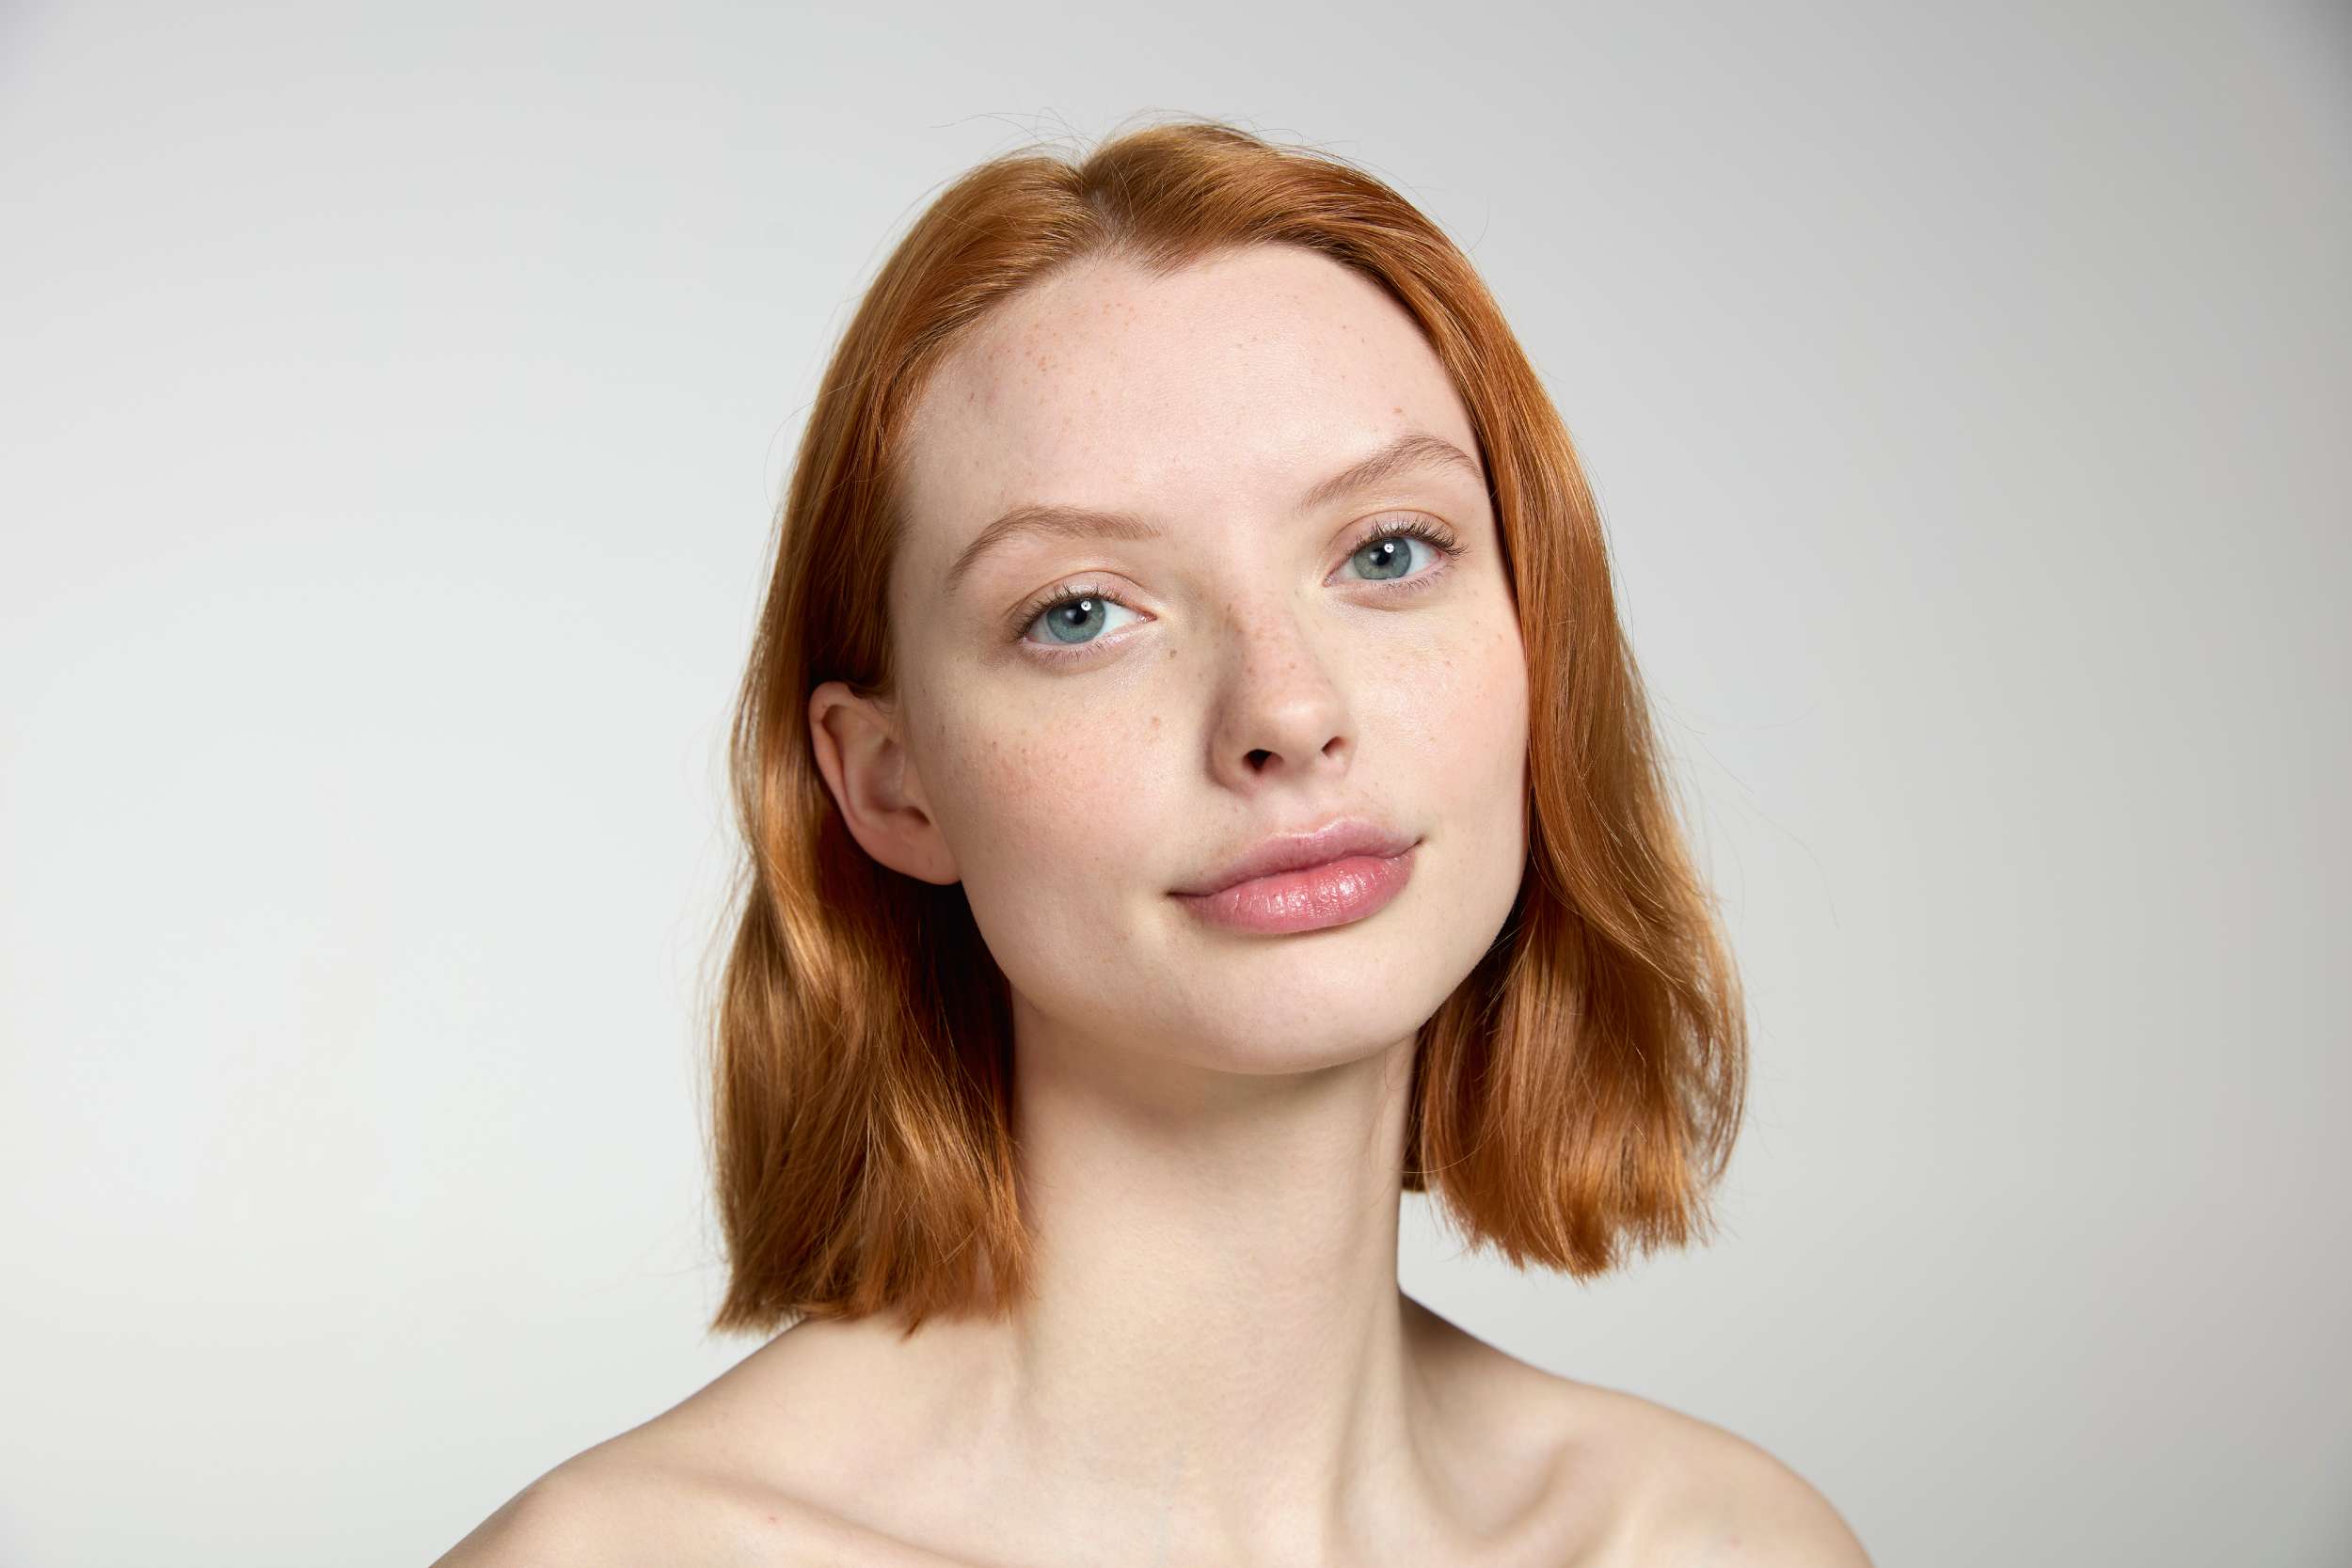
Skin aging is the result of changes taking place in different areas of the face at varying times. It is not only the skin that undergoes alterations, but also bones, muscles and tissues.
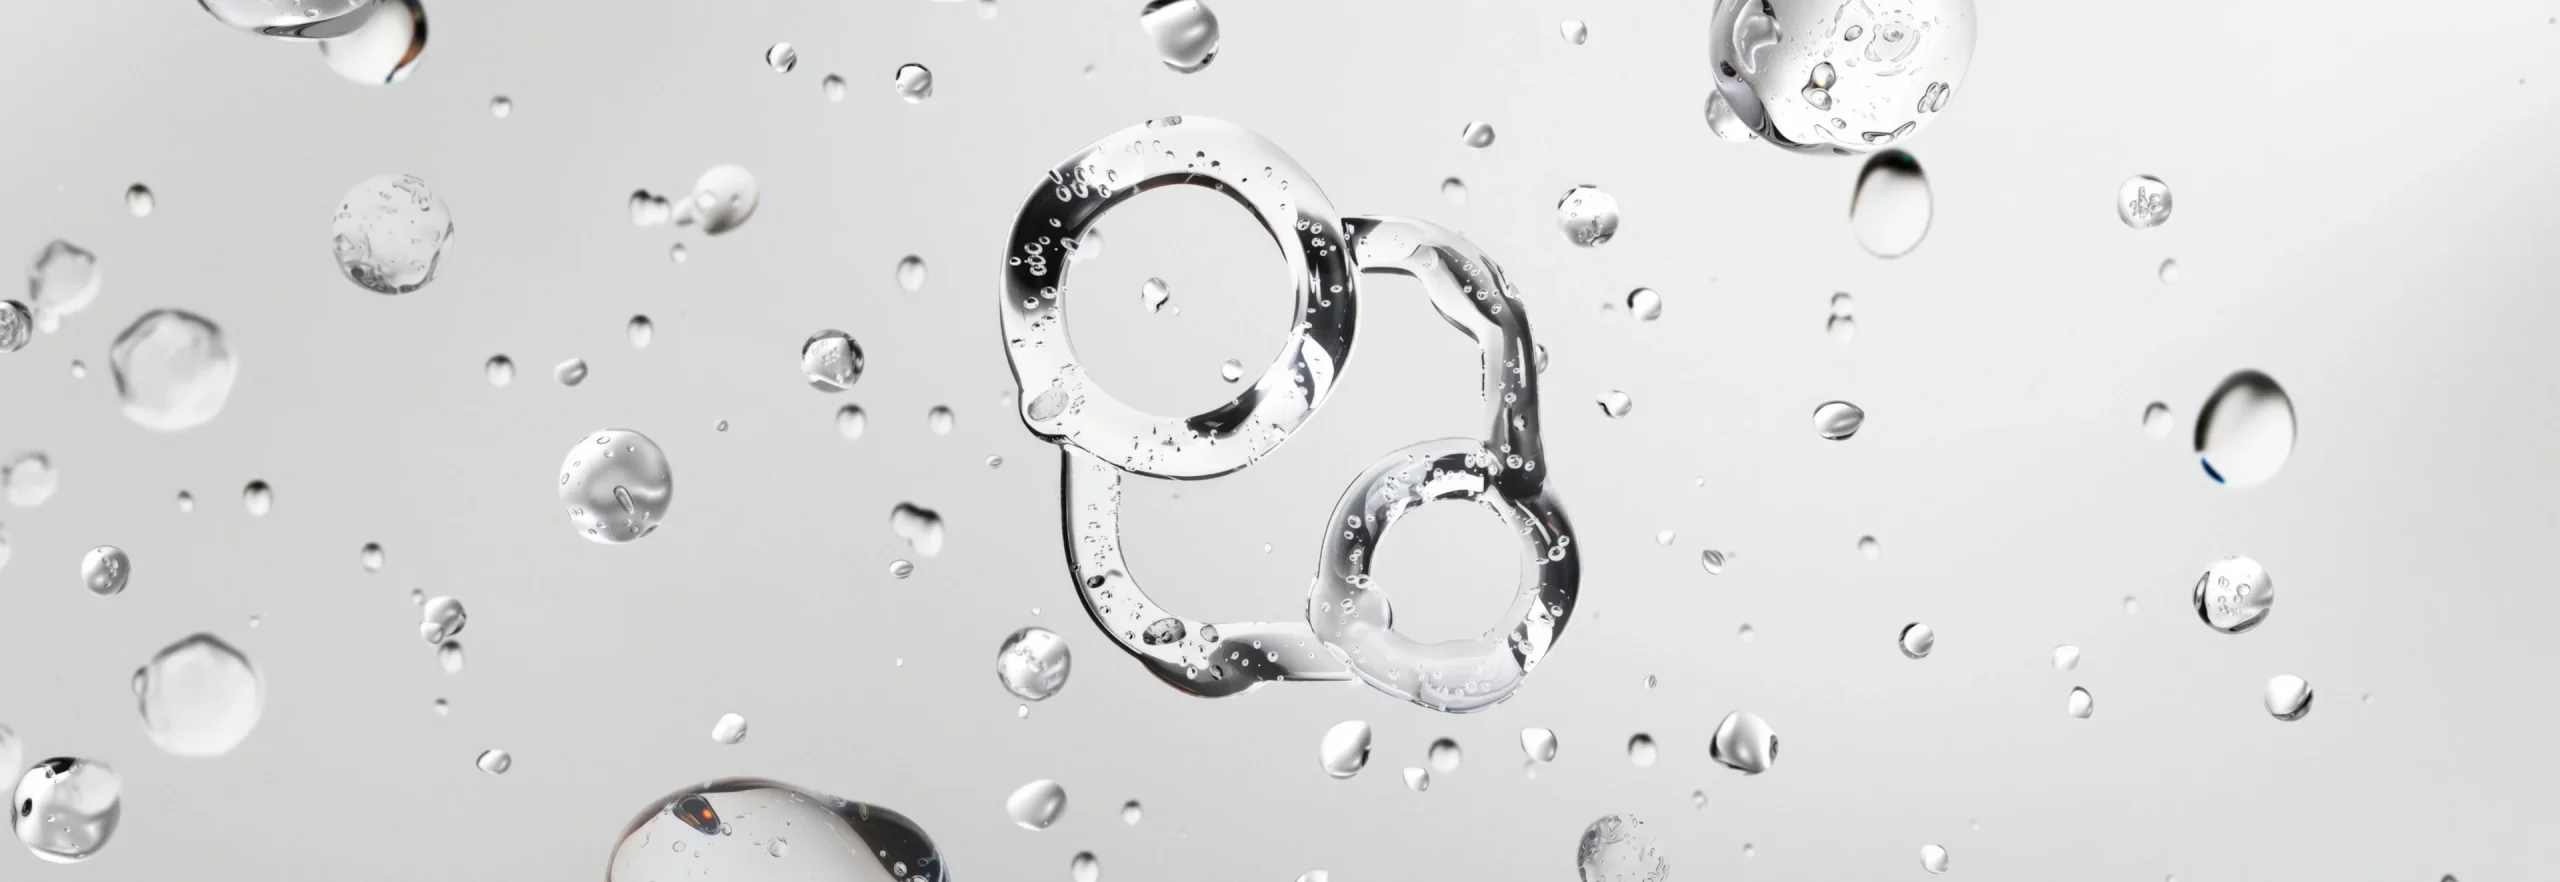
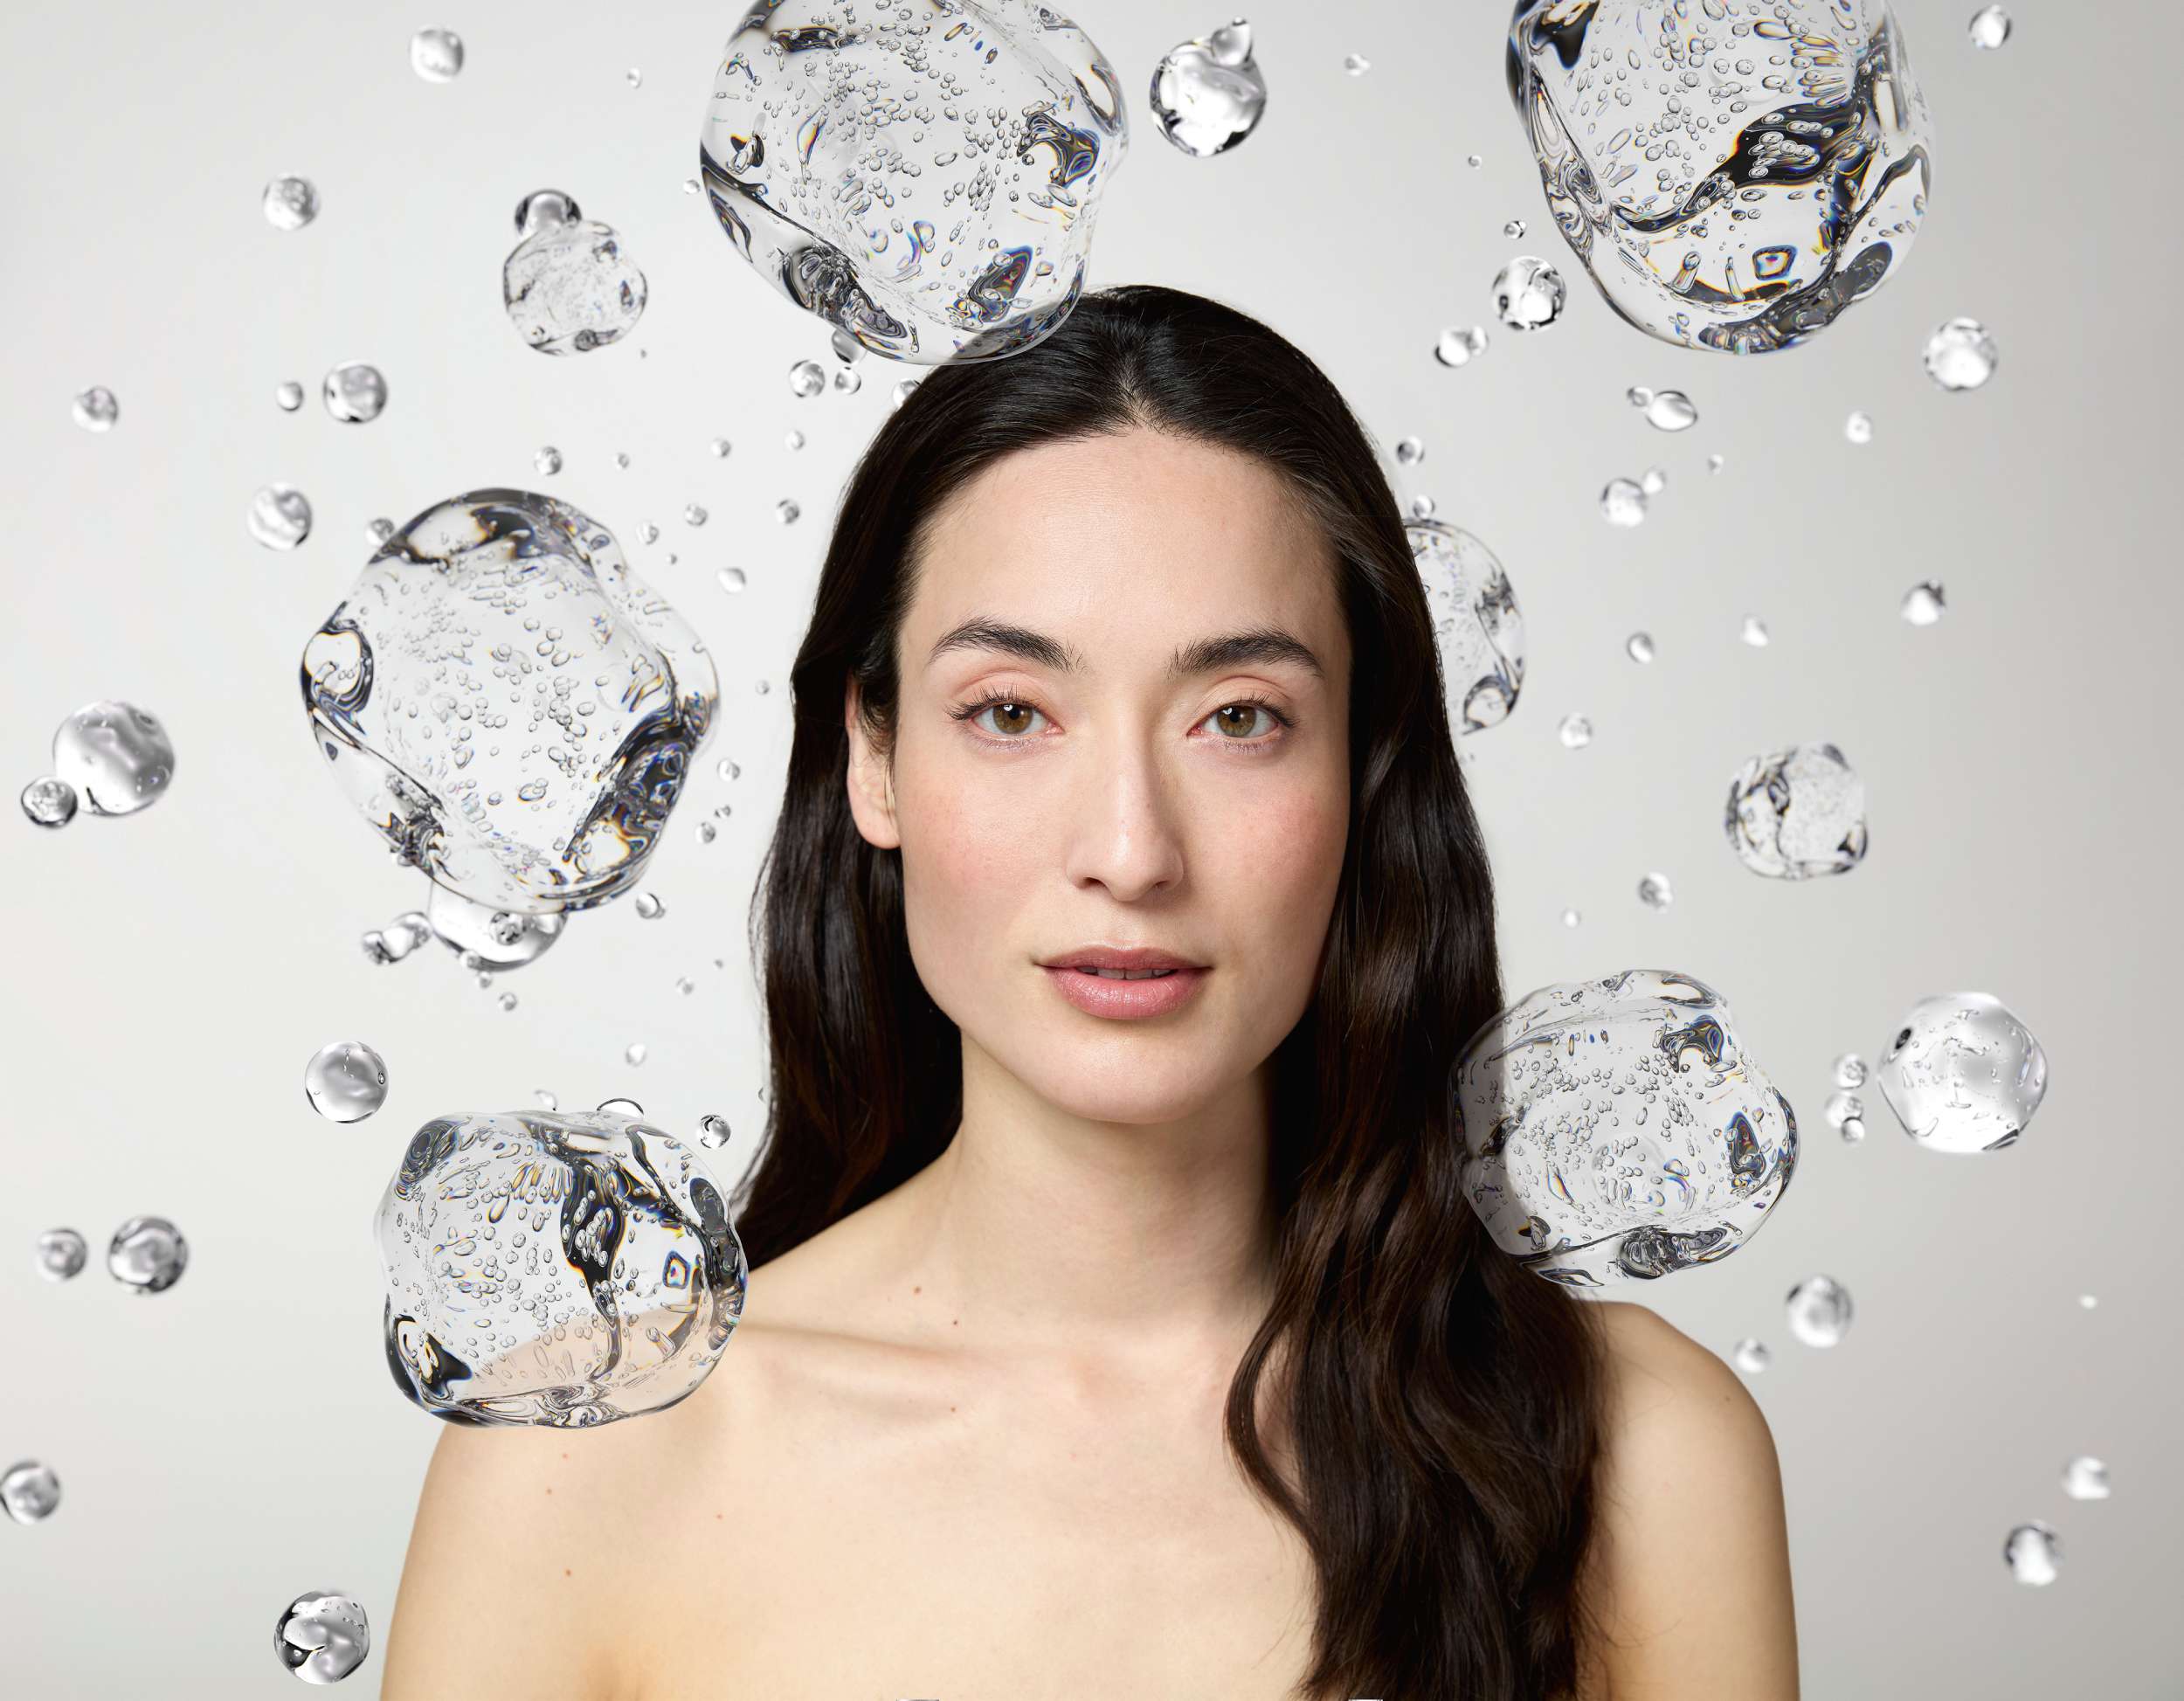
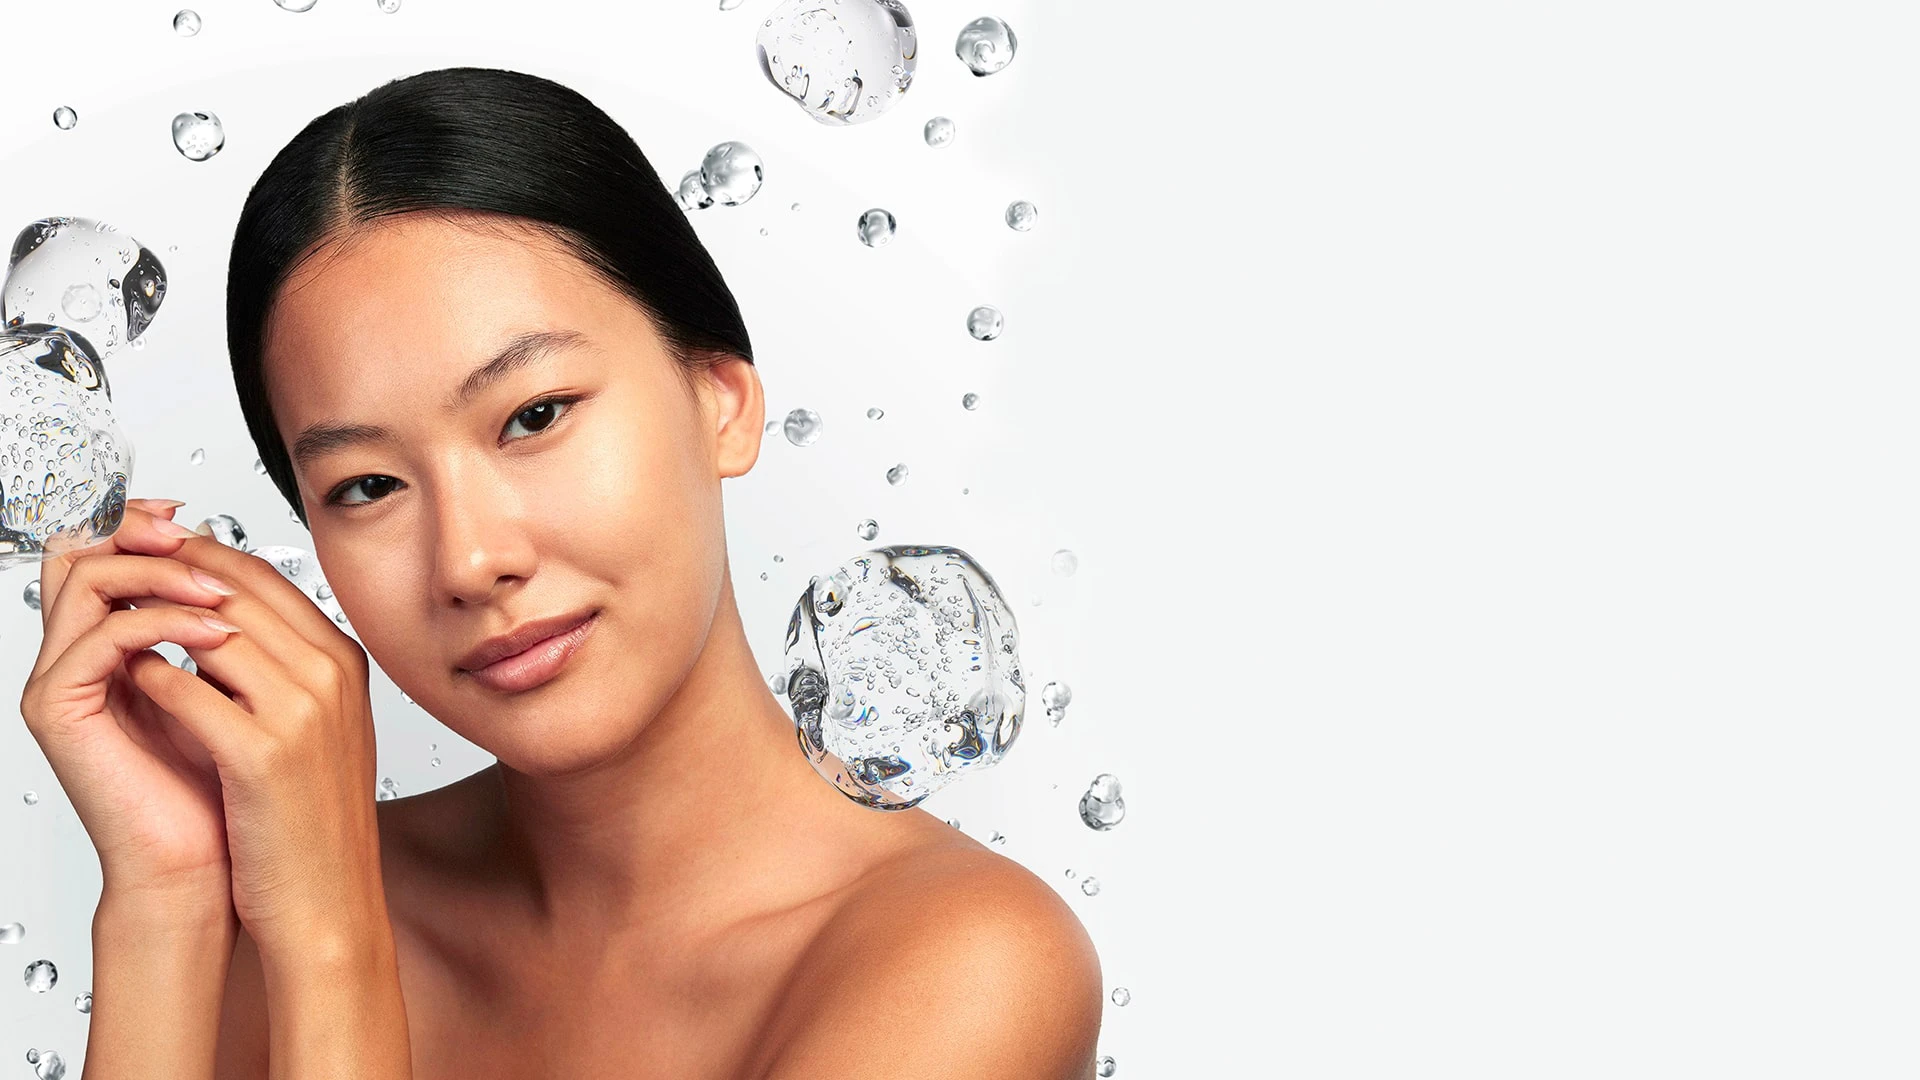
Celebrating 10 years of NAHYCO® Hybrid Technology. Patented by IBSA in 2015, this innovative technology featuring Ultrapure hyaluronic acid ensures that everyone’s unique beauty is preserved.